


"Git" and "Github" are commonly used in the software development industry and can be a bit confusing for a newbie. Firstly, Git and Github are not the same things. Let's see Git as a tracker, it tracks the changes in our codes or different versions of our project. Github is like a cloud showroom. This is where developers share their git projects and collaborate with each other on a project. These projects are stored in a Github Repository.
Let's start with creating a Github Repository.
- Go to Github.com
- Create an account or log in if you have an existing account.
- On the top right corner, click on the drop-down beside a + sign.

- Click on 'New repository" and you should see this
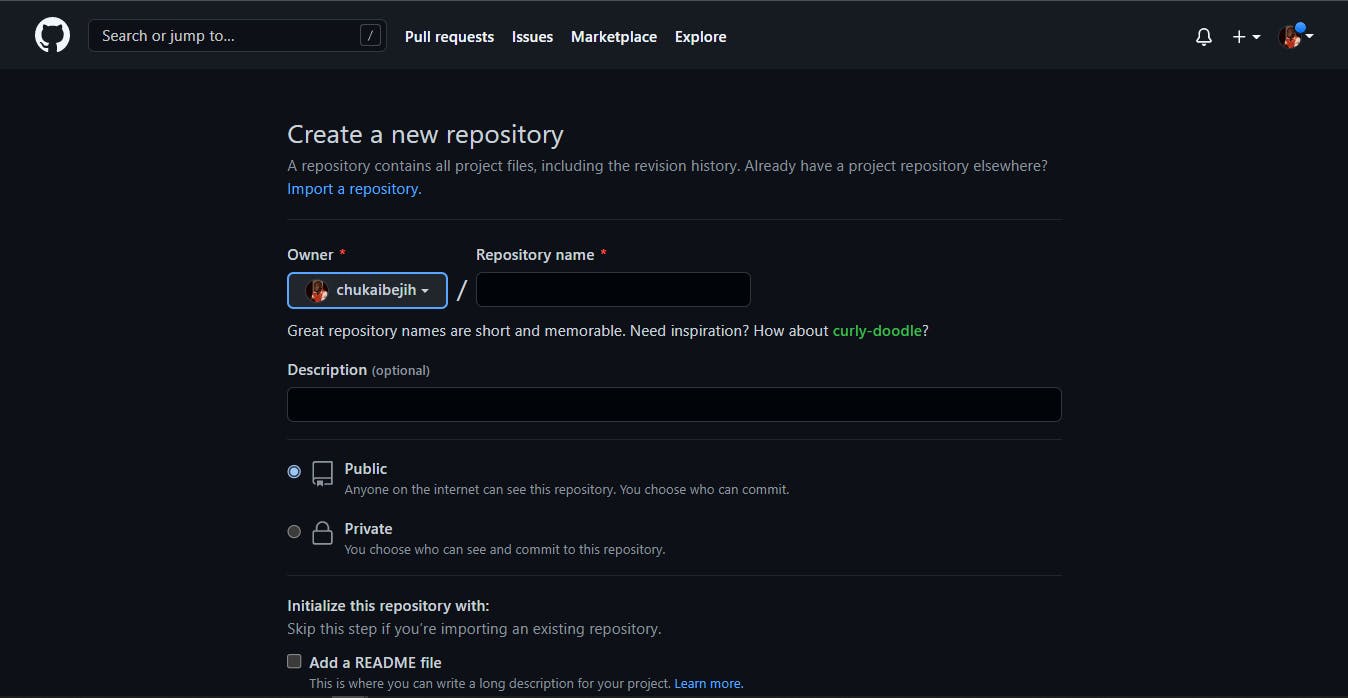
- Fill in your Repository name and Description which is optional but advisable to do so.
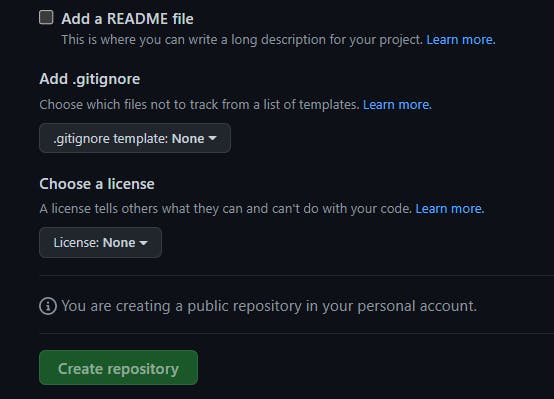
- For now, leave the README file unchecked and click on "Create repository"
- You should have something like this
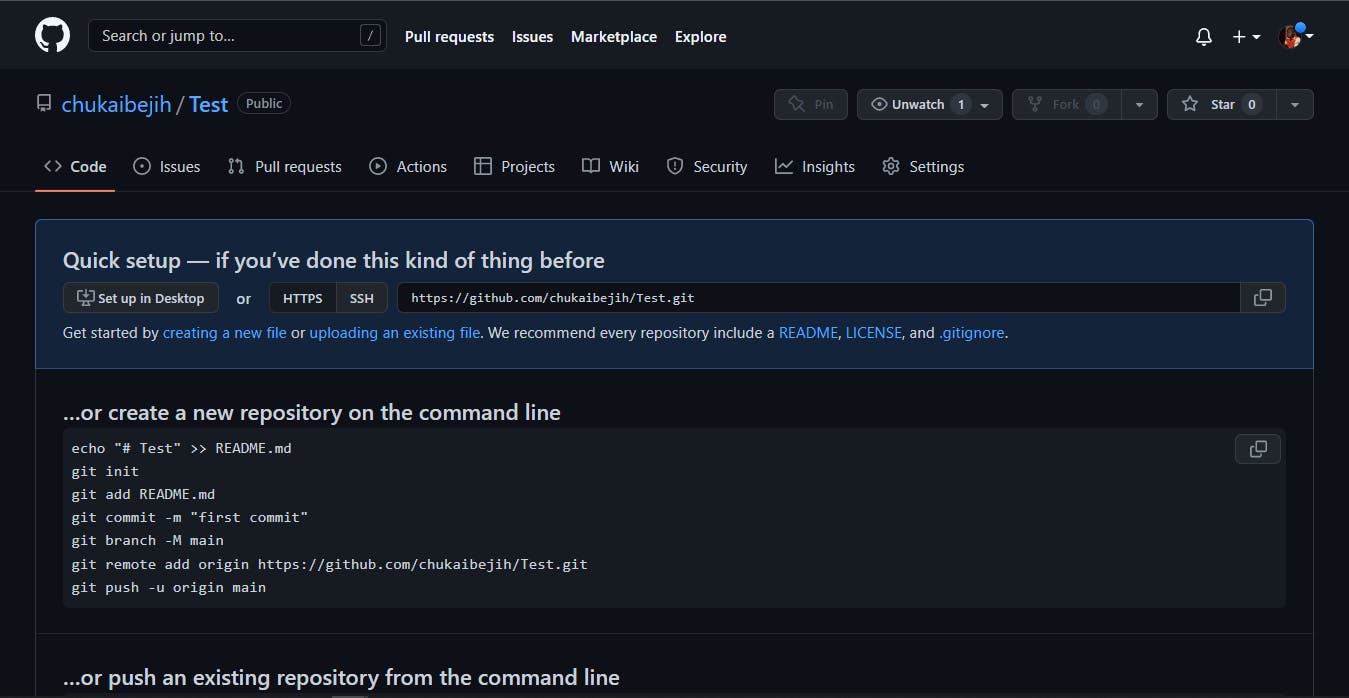
Git Initialization. Now our Github repository is created, it's time to initialize git in our project.
- On your terminal, cd into your project directory. For the purpose of this tutorial, we'll use a "test" folder on the Desktop that contains an HTML file. "C:\Users\Ibejih\Desktop\test\index.html"
- Run
git init -b main
git add .notice the period(.), it means you are about to add all the files in that directory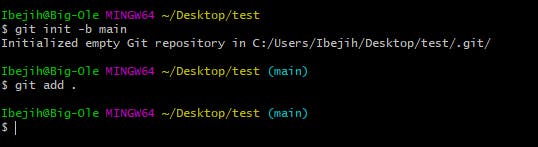
- git commit -m "(This should be a short but meaning description of what you are committing)". This is our first commit so we can use "Initial commit" or "First commit".
git commit -m "Initial commit"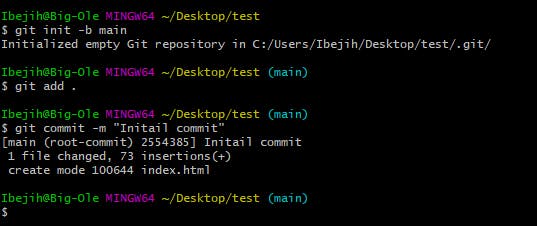
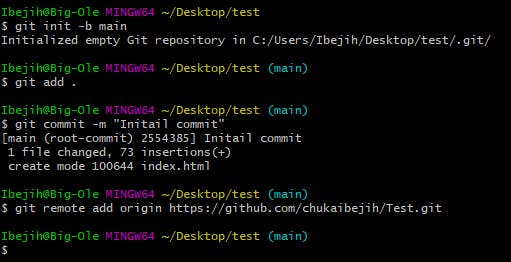
- After committing, the next stage is to push those commits to our Github Repository. For that to happen, we need to point our local Git on the right path. It needs to communicate with our Github Repository and know it's the right Repository we want to push our committed file(s) to.
git remote add origin <Remote URL>where 'Remote URL" is the URL to our Github Repository
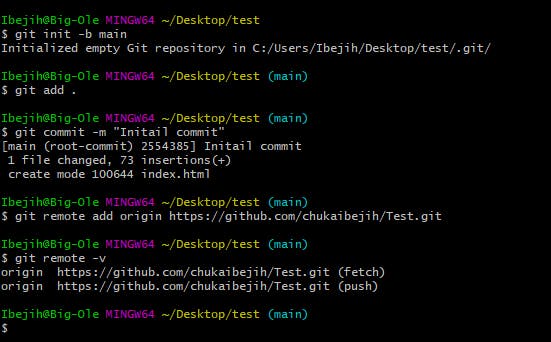
 To make sure it worked, run the command
 git remote -v
- If you've made it to this point and everything is working fine then, it's time to push our file(s) to our Github Repository else go through the steps again. You've got this!
- To push, run
git push origin main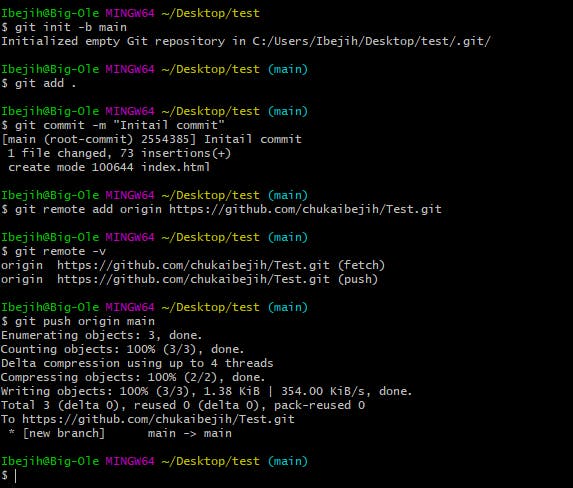 Go to your Github Repository and refresh the page
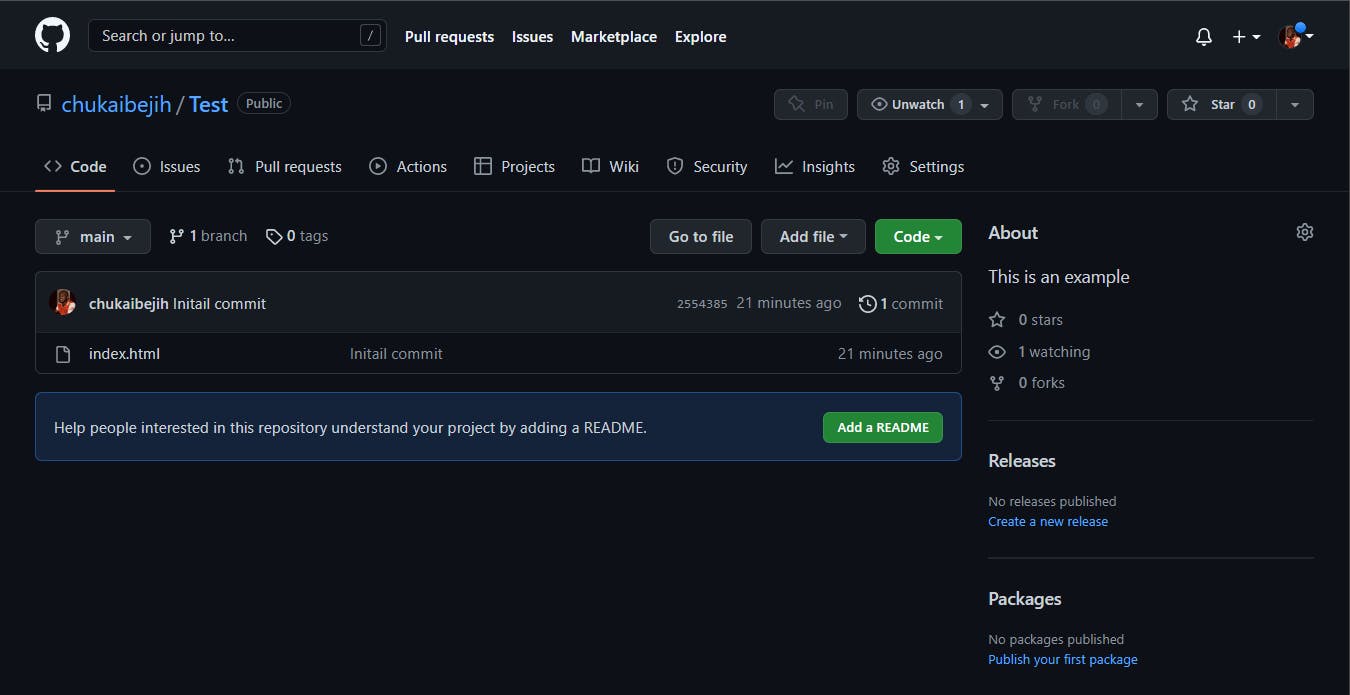
You can now add a README file. Congratulations on learning how to create a Repository and pushing your code to Github by using Git commands.